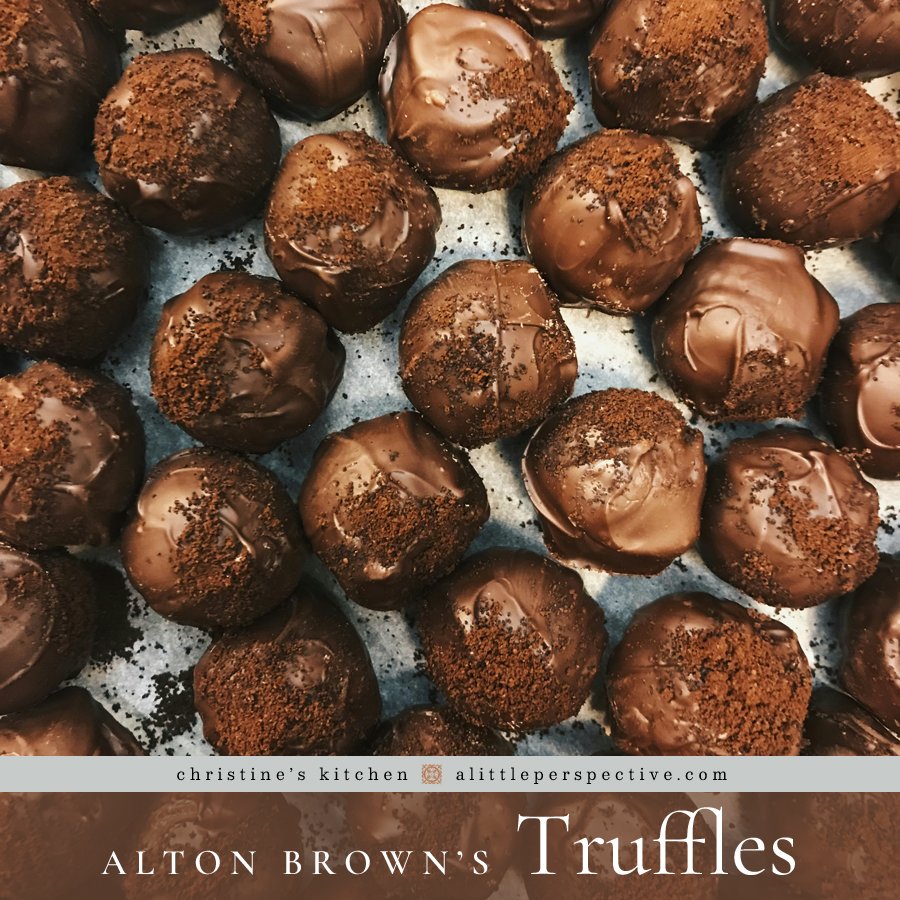
This is the link to his recipe on the Food Network website. The silkiness of these truffles is amazing, and the chocolate ganache can be flavored with extracts and liqueurs to make an endless variety of truffles.
The corn syrup and brandy can be omitted altogether, if desired (That’s what I do). If using brandy, reduce to 1 T – use the same amount if flavoring with other liqueurs.
I learned that the melon ball stage of the truffle making is just to divide the ganache into equal portions. It is okay if they are odd shapes when they go back into the refrigerator to chill. Then I grease my hands with coconut oil when I am shaping the ganache into balls. The colder the ganache the better, at this stage.
My favorite coatings:
cocoa powder
grated coconut, ground
pecans, hazelnuts, or almonds, ground
toffee pieces, ground
These are a reviewer’s truffle making tips, which I am going to try (all but the candy coating from craft stores):
- Use latex gloves for shaping the balls.
- For coating, use dark cocoa candy coating found @ crafts stores etc. No need to… temper.
- When coating truffles, regardless of using candy coating or tempering, make sure to use a lot of chocolate as this will keep the chocolate an even 92 degrees. When the chocolate coating becomes low, don’t be afraid to add more and just keep melting.
- When chilling, use metal pans – they chill the balls through and through. This is the top secret to ensuring the balls will keep their shape.
- Here’s the rest of my tips: Day 1: Make the centers and chill for 2-3 hours (needs closer to 3 hours). Once the chocolate is chilled to a airy, mousse consistency, form into 1/2 in balls with a teaspoon. Drop these imperfectly formed balls onto a metal cake plate, cover & chill over night. They will be sticky and difficult to manage. That’s ok. The goal isn’t a beautiful little ball, rather a workable shape that chills faster & will be easier to manipulate in the morning. Day 2: Wearing latex gloves, take the chilled balls & push them into shape (they’ll be quite hard). It’s like forming clay. Using the warmth of your hands, roll into shape. Be sure to wipe your gloves between shaping with a dry paper towel. Return shaped balls to metal cake pan & chill until very firm (about 6 hours or overnight) Take out of fridge & let sit about 30 minutes (don’t let them come to room temp. as they’ll melt when added to coating). The goal here is cold enough to coat but not so cold as to crack the coating while setting. Heat the coating and begin dipping. I pipe white chocolate in a swirly pattern on top using a ziplock bag with an end snipped b/c I think the nuts etc is too overwhelming.